How to Reduce Image Size in KB or MB
A file-size limit is not the same as a pixel-size requirement. Set a clear target, adjust the right controls, and keep the detail that makes your image useful.
Nov 13, 2026, 2:55 PM UTC
A photo can be perfectly usable in your camera library and still be too large for a form, listing, or message. That does not mean you should move every quality control to its lowest setting. The useful goal is to produce a smaller copy that the destination accepts while preserving the details the recipient actually needs to read or see.
To reduce image size effectively, treat dimensions, format, crop, and encoding quality as separate decisions. Each can change the result, and no single preset works equally well for every picture. This guide takes you from a clear KB or MB target to a downloaded file you can test, without confusing a temporary browser preview with a finished delivery.
1. Distinguish file size from pixel dimensions
Pixel dimensions describe the image grid, such as 2400 by 1600 pixels. KB and MB describe the amount of stored data. Two images with identical dimensions can have very different file sizes because their content and encoding differ. A simple flat-color diagram and a detailed woodland photograph do not compress in the same way, even when they occupy the same rectangle.
Do not assume that halving the width will produce exactly half the file size. Total pixel count, format, transparency, and quality all contribute. Units can add another wrinkle: some interfaces use KB or MB where another reports KiB or MiB. A little headroom below a strict limit can be more reliable than targeting the final byte of an uncertain threshold.
Record the source format, dimensions, and file size, then define a concrete target. If the file already meets the requirement, extra processing may be unnecessary.
2. Read the destination’s full requirements
Some forms limit only file size; others also require a specific format, aspect ratio, or minimum dimensions. A small WebP will still fail a JPG-only form, and a narrow image may not satisfy a square-photo requirement. Separate those conditions before editing. Otherwise you may solve one rejection only to encounter another after the image has been unnecessarily degraded.
Check whether the field expects a file or a URL. Compressing a local image does not help if the page needs a hosted image address, and pasting a link into a file picker does not attach the file. Read the exact error and identify the stage that failed. This small diagnostic step often saves several rounds of pointless compression.
Keep the original and name outputs clearly. Download the chosen result before leaving the tool; a temporary browser preview is not permanent storage.
3. Remove unnecessary pixels before sacrificing detail
Think about where the image will be displayed. A small listing thumbnail may not need the full dimensions produced by a camera. Resize proportionally so you do not stretch the subject; when an empty dimension is calculated from the original ratio, inspect the result rather than entering unrelated width and height values. Fewer appropriate pixels can be better than excessive resolution encoded at very low quality.
Crop irrelevant borders where doing so suits the purpose. A screenshot explaining one error may not need the entire desktop around it. This improves focus as well as potentially reducing the file. Do not crop required document edges, identifiers, or context simply to meet a target, though. Whether a crop is acceptable depends on what the receiving person or system needs.
Enlarging a small image cannot create real detail. Check the smallest required text at actual size; a numerically acceptable but unreadable file is not useful.
4. Choose an appropriate format and quality
JPG and WebP are useful options to consider for photographs, while PNG may suit sharp graphics or transparent artwork. None is automatically the smallest choice for every source. Match the destination’s accepted formats to the image’s needs. If transparency matters, remember that moving to JPG replaces it with a background rather than preserving an alpha channel in the new file.
The image compression tool lets you adjust quality and compare the output size. Move in reasonable steps instead of immediately selecting the minimum. Inspect faces, gradients, lettering, and detailed edges in the downloaded output. A small preview can conceal artifacts that become obvious when the file is opened or placed into its final layout.
Quality settings differ between formats and encoders. For PNG, dimensions and content may matter more; evaluate the output rather than treating percentages as universal scores.
5. Work toward a target in KB or MB
Open the target image-size tool, select the file, and check both the number and the unit. A target of 500 KB is a very different request from 500 MB. To approach a target, the tool may reduce quality and, where needed, pixel dimensions. It cannot guarantee every requested size for every source while preserving all other properties.
When processing finishes, compare both the file size and the before-and-after dimensions. Download the output and inspect the critical content. If the tool reports that the target was not reached, do not treat the presence of a result as a hidden success. A different format, smaller dimensions, or a more suitable source may be needed, subject to the destination’s minimum requirements.
This preparation stays on your device. Download directly, or deliberately start the separate hosting upload, which has its own limits, terms, and access choices.
6. Validate the file where it will be used
Imagine preparing a 3 MB product photograph for a 500 KB field. Start with the useful crop, choose suitable dimensions, and compare an appropriate JPG or WebP output. If the label on the product is no longer readable, revisit the choices. The target is a practical balance, not the smallest possible file regardless of whether anyone can use it.
A screenshot may need different settings from the photograph, especially when small text is essential. For a batch, check examples with different types of content instead of inspecting only the first file. One attractive output does not establish that every image in the group retained its important details. Return to the original source when another attempt is necessary.
Test the newest downloaded file in the destination. Once it works and looks right, avoid another unnecessary compression step just to remove more bytes.
Match pixel counts to the detail people need
Resizing a 4000 × 3000 photo to 1600 × 1200 reduces the pixel count from 12 million to 1.92 million. It does not promise the same percentage reduction in bytes: content and encoding still affect the result. Nor is 1600 pixels a universal recommendation. A portfolio photograph that viewers enlarge needs a different assessment from a small chat preview.
If a serial label or fabric texture matters, a separate close-up may communicate it more clearly than an oversized photograph of the entire product. Prepare the main view for its destination, then add the detail shot where needed. Keep the original for printing or further editing separate from these delivery copies.
Compare exports under matching conditions
Make two exports from the same source and crop, then open them in the same viewer at the same zoom and against the same background. Inspect the intended display size first, followed by a 100 percent view. Look for banding in skies, blocky shadows, and fading fine lines. A quality value of 80 in one editor is not necessarily equivalent to 80 in another.
A lossless export preserves the pixels supplied to the encoder at that step; it cannot restore detail removed by an earlier resize or lossy save. Review EXIF and location information in the final sharing copy too. Keeping a brief note of dimensions, format, and quality helps repeat the process, but check the next image’s texture and lettering rather than assuming the same preset will always work.
Frequently asked questions
Does a smaller file always mean fewer pixels? No. Format and quality changes can alter file size while the width and height remain unchanged.
Can every image be reduced below 500 KB? Not necessarily. Content, minimum dimensions, and supported formats can limit what is achievable. Read the result and any warning.
Is quality 100 a lossless guarantee? No. The format and encoder matter, and identical percentage values do not imply identical behavior across applications.
Will the reduced file upload automatically? No. Download the local result, or deliberately start the separate normal upload flow if you want a hosted link.
Related tools and reference
Use target-size reduction for a KB or MB limit and image compression to compare quality settings. The Canvas export reference explains browser quality parameters; compare the effect on your own file.
Try it in ImgPage
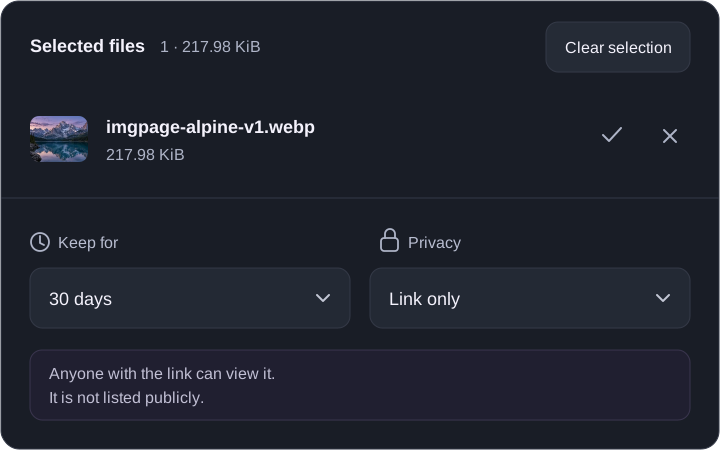
The selected sample WebP file is 217.98 KiB. This is the size of the selected file before upload, not a compression result promised for every image. When preparing your own copy, check its size and whether text and details remain readable.