Convert WebP to JPG: A Clear, Practical Guide
Changing a filename is not a conversion. Create a compatible JPG copy, choose a background for transparent areas, and inspect the download before using it.
Nov 13, 2026, 2:07 PM UTC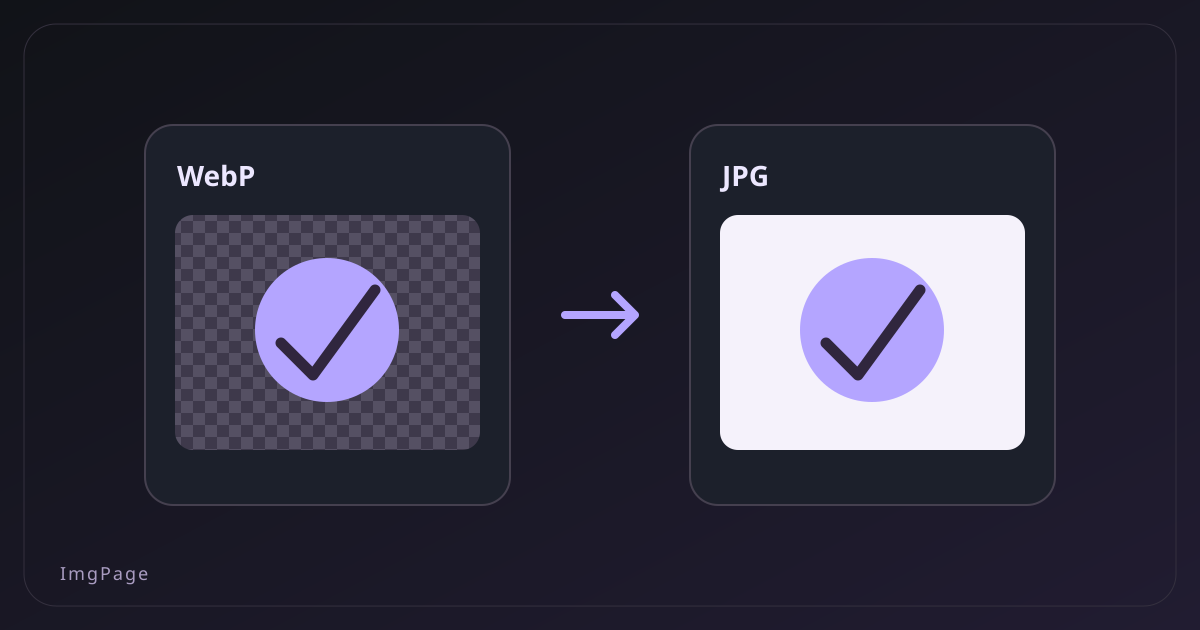
You download an image, try to attach it to a form, and discover that the form accepts JPG but not WebP. The file is not necessarily damaged or unusual. WebP is an established image format, but compatibility requirements still vary between websites, desktop programs, and older workflows. Converting a copy can solve that problem without replacing the source you may need later.
The important part is knowing what the new format can keep. JPG cannot preserve every feature a WebP file may contain, and conversion does not recover details already missing from the source. This guide walks through a local browser conversion, explains the choices that affect the result, and gives you a practical way to check the downloaded file.
1. Know what is inside the source format
WebP supports both lossy and lossless encoding, and it can carry transparency or animation. A photograph, a transparent logo, and an animated sticker can therefore share the same extension while requiring very different handling. Start by opening the file and identifying what matters: fine detail, a transparent edge, movement, or simply a compatible static picture.
JPG is widely used for photographs and works with many applications, but it is a lossy format without an alpha channel for transparent areas. A single JPG also does not represent a multi-frame animation. These limits do not make JPG a poor choice; they explain why the destination and the image’s content should guide the conversion rather than the familiarity of the filename.
Changing an extension does not re-encode image data. A real converter creates a new output; keep the original for later format or quality choices.
2. Convert for a reason, not by habit
Check the destination’s requirements first. A form might require JPG, a colleague’s software might not open WebP, or an email workflow might expect a conventional photo file. Those are useful reasons to convert. If the destination already accepts WebP and the image works correctly, changing it may introduce another encoding step without providing a practical benefit.
Transparent artwork needs special attention. Converting a cut-out logo to JPG means replacing its transparent areas with a background color. Animation is another separate issue: a static JPG cannot preserve an entire sequence. If your source is animated and the tool does not support that operation, choose an appropriate animation workflow instead of assuming a still output is equivalent.
Keep the source and name converted copies clearly. Returning a JPG to WebP cannot restore transparency or detail lost during the earlier conversion.
3. Create a JPG copy in the browser
Open the WebP-to-JPG converter, then select or drop your source file. Check its name and dimensions in the preview. This device-side tool prepares the converted output locally; it does not start the normal image-hosting upload as part of conversion. You can download a result without publishing a sharing link.
Choose a sensible quality setting for the destination. A compact preview may not need a large output, while a photo intended for closer inspection may benefit from a higher setting. Quality percentages are not standardized visual promises across different encoders. Compare a couple of outputs instead of assuming that the same number will look or weigh the same in every application.
Apply, download, and open the JPG before closing the page. Temporary results are not an archive; hosted sharing requires a separate upload action.
4. Choose a background for transparent areas
A transparent WebP cannot remain transparent inside a JPG. The background choice determines what replaces those areas, so inspect both the subject and its edges. A white mark can disappear against a white background, while a dark logo may work well there. Think about the page or document where the converted image will actually be placed.
For example, a product cut-out on a white marketplace page may suit a white background. The same JPG on a dark website can appear as an unwanted white rectangle. If transparency is a real requirement, investigate whether the destination accepts PNG or WebP instead. Forcing the image into JPG will not create transparency support in a system that lacks it.
Inspect edges and shadows after flattening transparency. If the background looks wrong, return to the original rather than repeatedly converting the finished JPG.
5. Evaluate quality and file size together
The JPG can be larger than the WebP you started with. That is not automatically a conversion failure: the formats encode information differently, and the selected settings influence the result. The aim is a compatible file with acceptable detail, not a promise that every operation will reduce storage. Let the destination’s limits and the visible output guide your choice.
Open the download at its actual size. Inspect hair, faces, gradients, fine lines, or small text, depending on the image. A tiny preview can hide compression artifacts that become obvious when the file is used. If a screenshot’s text degrades badly, a higher setting or a different accepted format may be more appropriate than another aggressive JPG conversion.
Generate each trial from the source. Change settings separately when comparing outputs, and remember that enlarging a small image does not create real detail.
6. Troubleshoot the file and the download separately
If conversion fails, see whether the source opens in another viewer on your device. An incomplete download or unsupported animated file cannot be diagnosed from the extension alone. Read the tool’s message and, where appropriate, obtain a fresh copy from the original source. Repeating the same selection without changing the cause usually will not solve the issue.
Large images also demand more device memory and processing time. Try one small file before a large batch to establish whether the tool works in the browser you are using. If a size or pixel limit is shown, respect it rather than treating it as an upload progress problem. Other memory-intensive tabs may also make local processing less responsive on a phone.
Check the download folder and select the newest file. Confirm that it opens as JPG with the intended dimensions and works in the destination.
Frequently asked questions
Can I convert WebP by changing the extension? No. A genuine conversion creates newly encoded JPG data; renaming leaves the source data unchanged.
Will conversion improve image quality? No. It cannot restore missing source detail. The source and output settings determine what the converted copy looks like.
Does JPG preserve transparency? No. Choose a background color, or keep an accepted format that supports transparent pixels when that feature matters.
Do I need to upload the result publicly? No. The local tool provides a download. Creating an ImgPage sharing link requires a separate upload action.
Related tool and references
Make a compatible copy with WebP-to-JPG conversion. See the WebP format overview for its capabilities and the Canvas export reference for browser output-quality behavior.